P11S - Themis
Encounter Info
DPS Check
73.6k
Enrage
11:15
Strategy Reference
Themis opens the fight with some pretty standard stuff, starting with an Eunomia raidwide that has a bleed. This is decently spicy, so make sure to keep an eye on that. Immediately after is Dike, a 2-hit tankbuster on both tanks that requires a swap during the castbar. We then start in on the first set of Overruling mechanics.
Phase 1
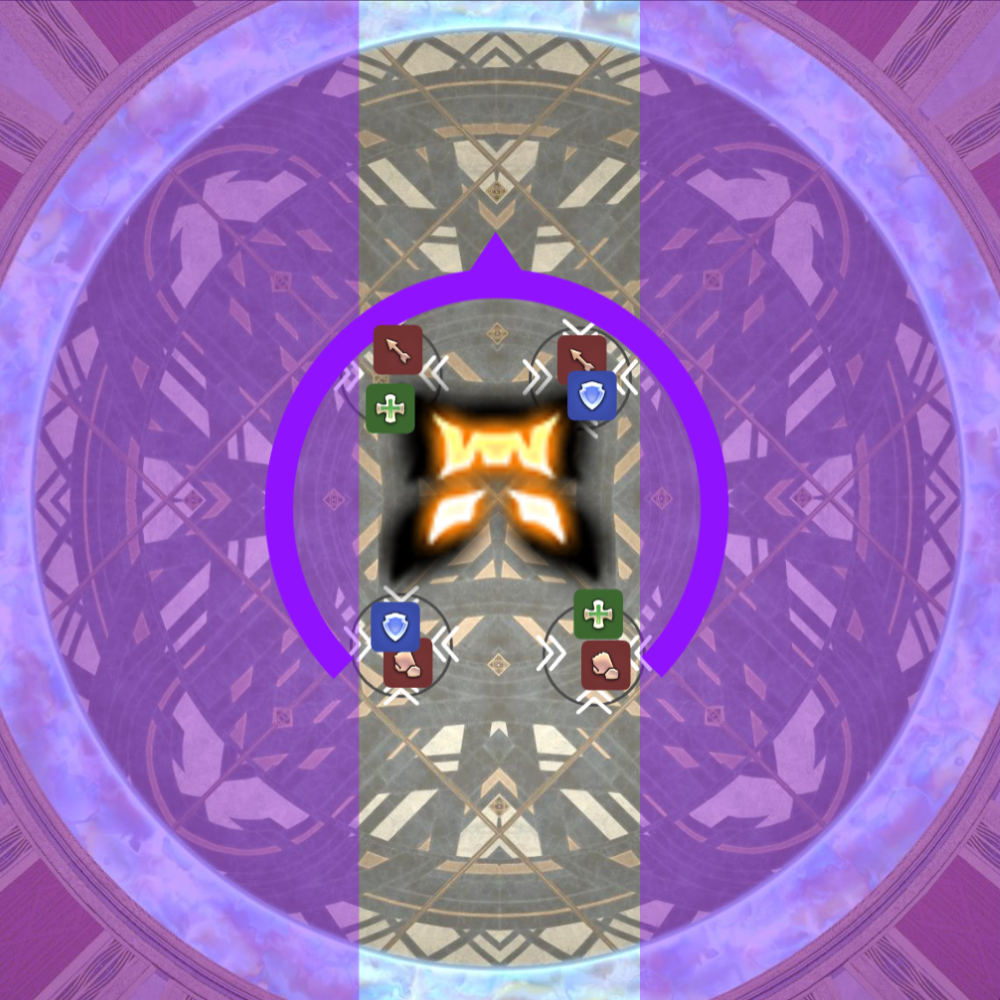
There are a total of four different Overruling mechanics throughout the fight - since the main difference between all of them is the first word, I’m going to just refer to them with that after introducing them. The main commonality between all of them is that Themis will glow with either Light or Dark energy while casting the mechanic to indicate one of two possible patterns.
In general, Light versions of Overrulings will result in going away from a point-blank AoE and soaking in light parties, and Dark versions will result in going to the center of a donut AoE and soaking in partners.
Light = Light parties + out
Dark = Partners (doubles) + in
Yukizuri Raidplan
Jury Overruling
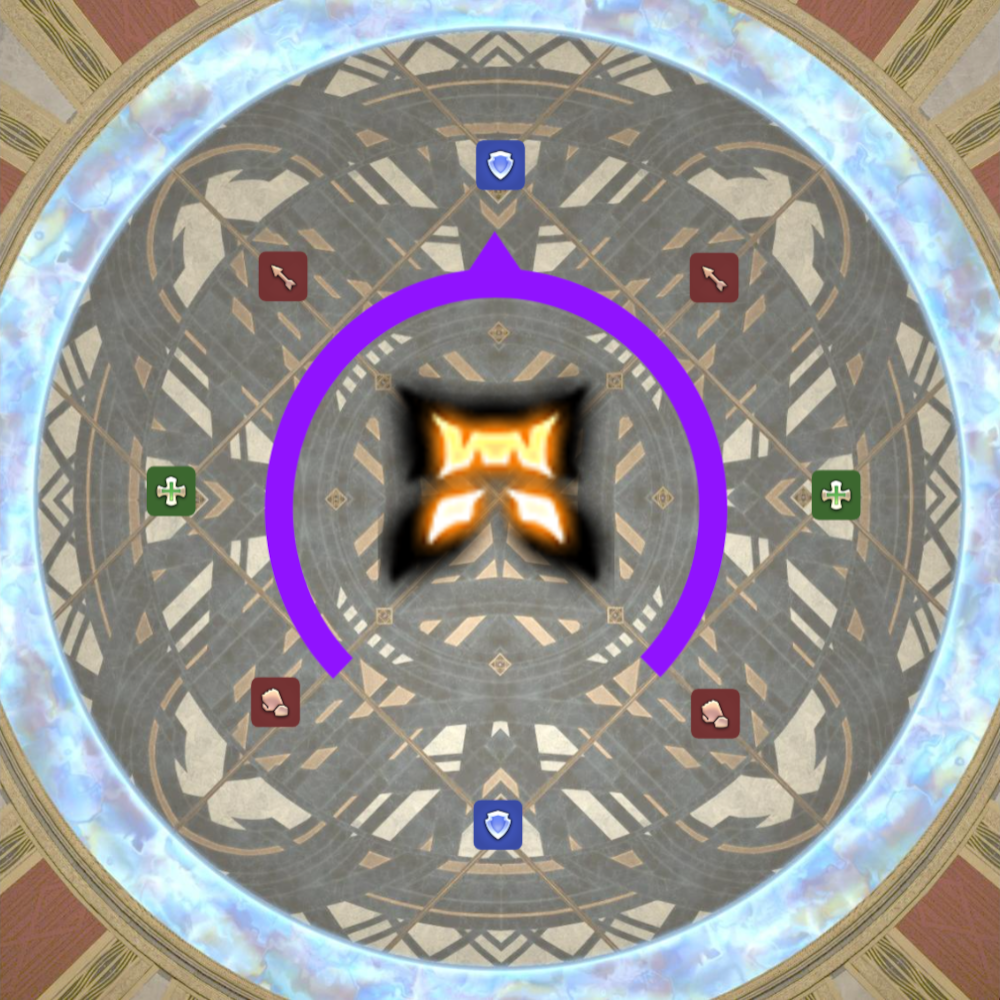
Starting clock positions
Light (left) and Dark (right) positions after the initial protean cleaves are baited.
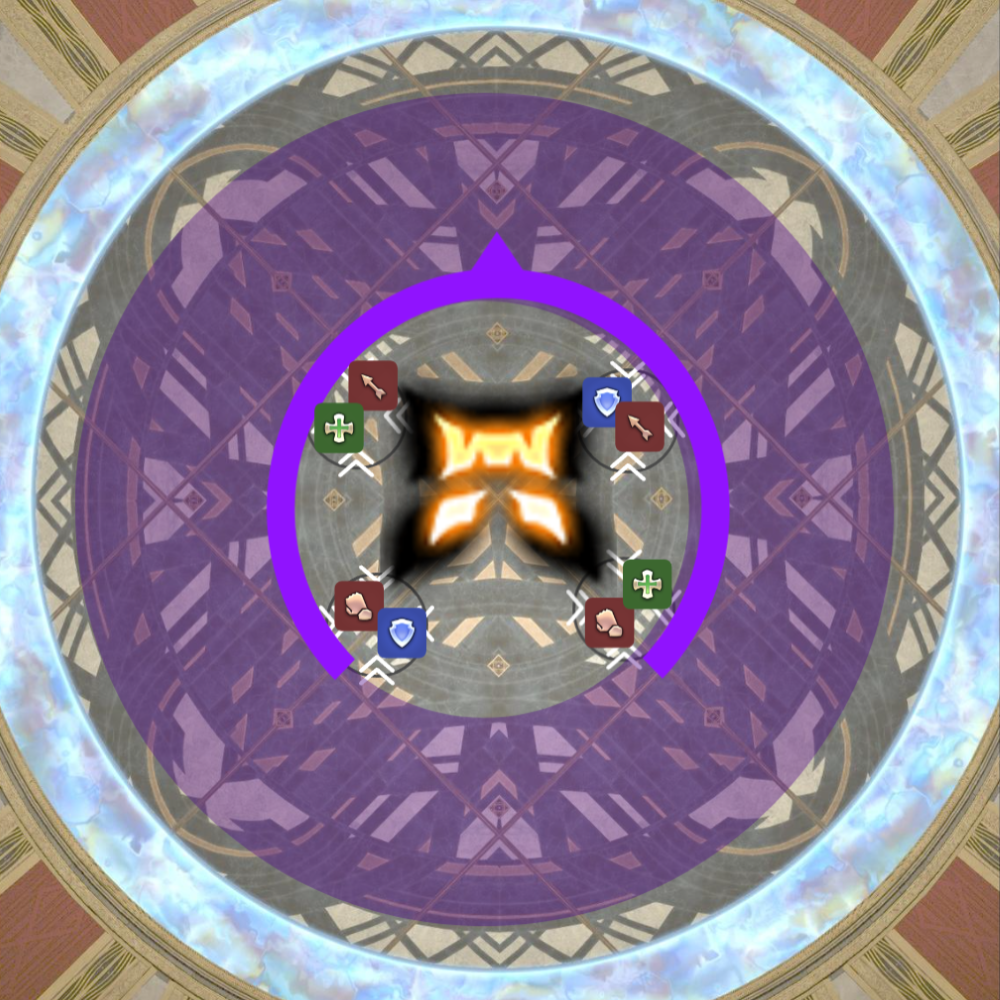
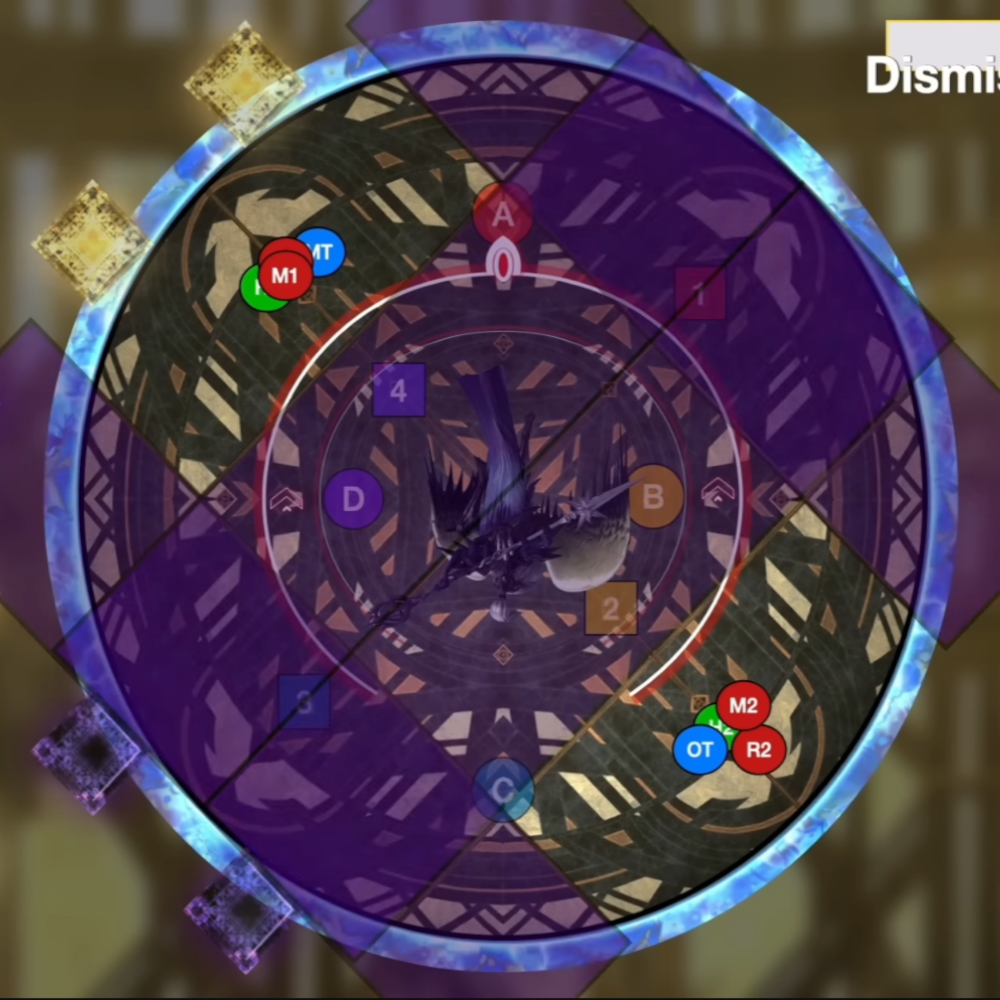
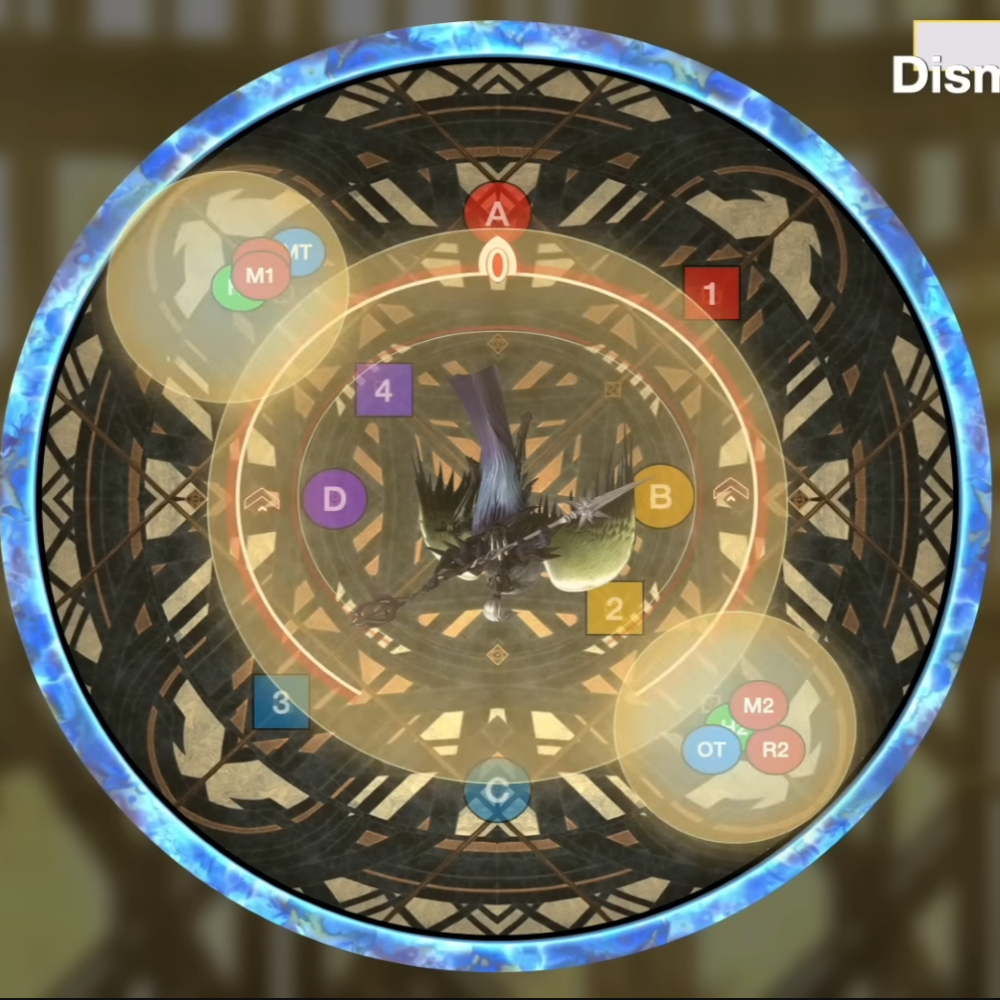
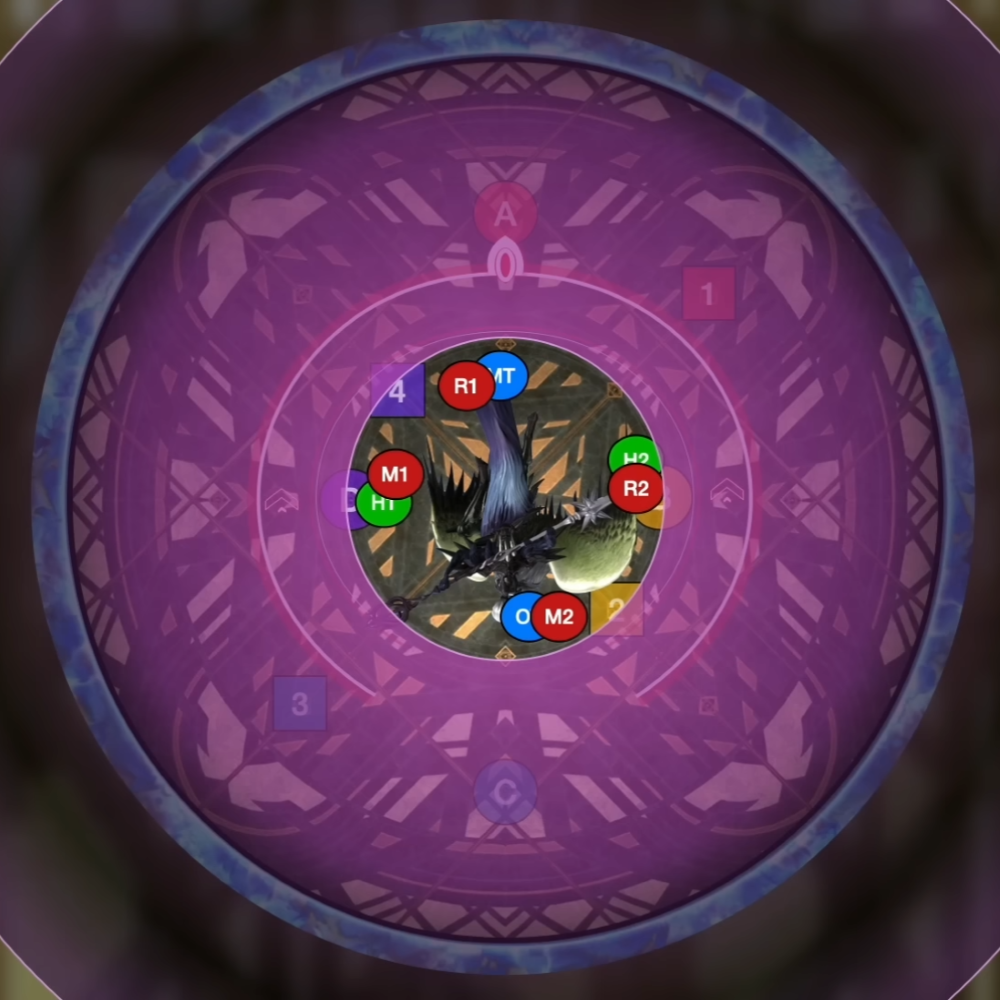
Jury is the first Overruling mechanic in this phase. Light or Dark, it always starts with line proteans from the boss which are taken in clock spots at max melee.
Light: For the Light version, after proteans you’ll drop point-blank AoEs underneath your positions. There will also be a light party stack, so to resolve, simply move in in your light parties.
Dark: For the Dark version, after proteans you’ll drop donut AoEs under your positions. There are partner stacks directly after, so supports rotate clockwise to their DPS partner who stays in their clock spot.
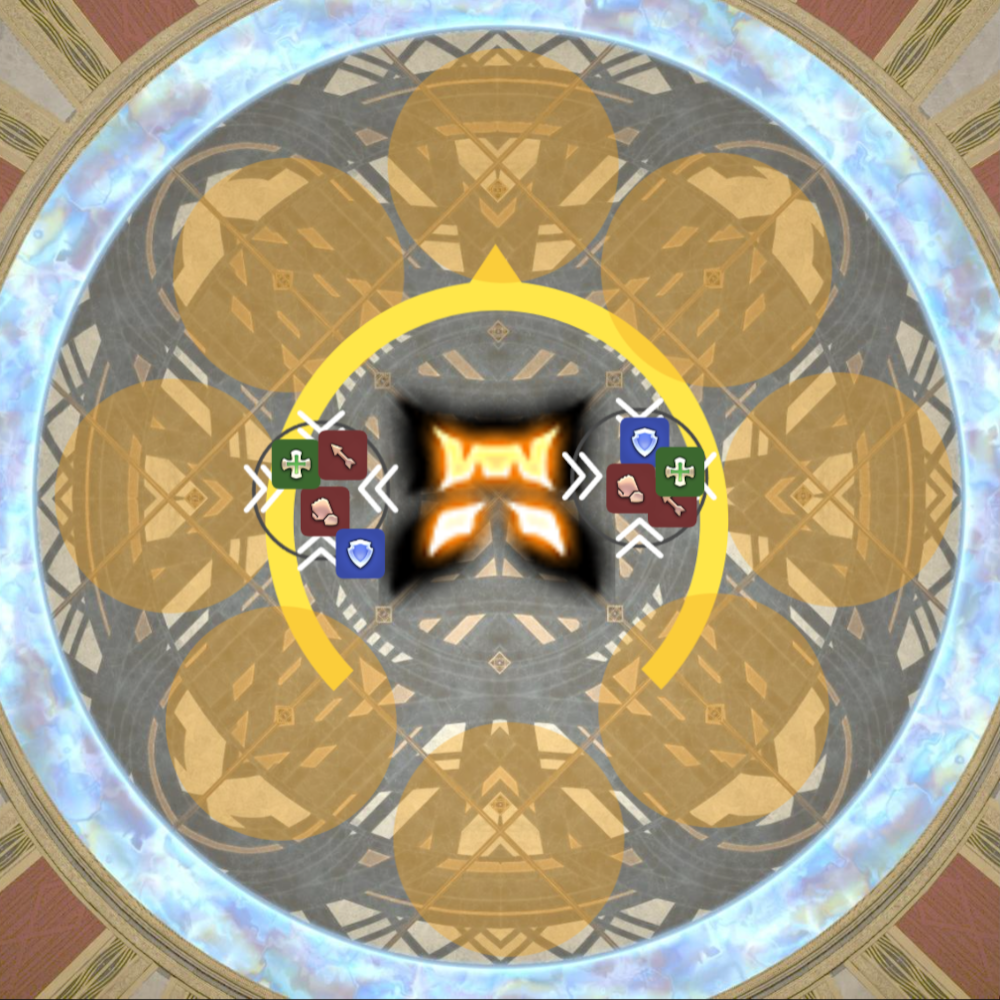
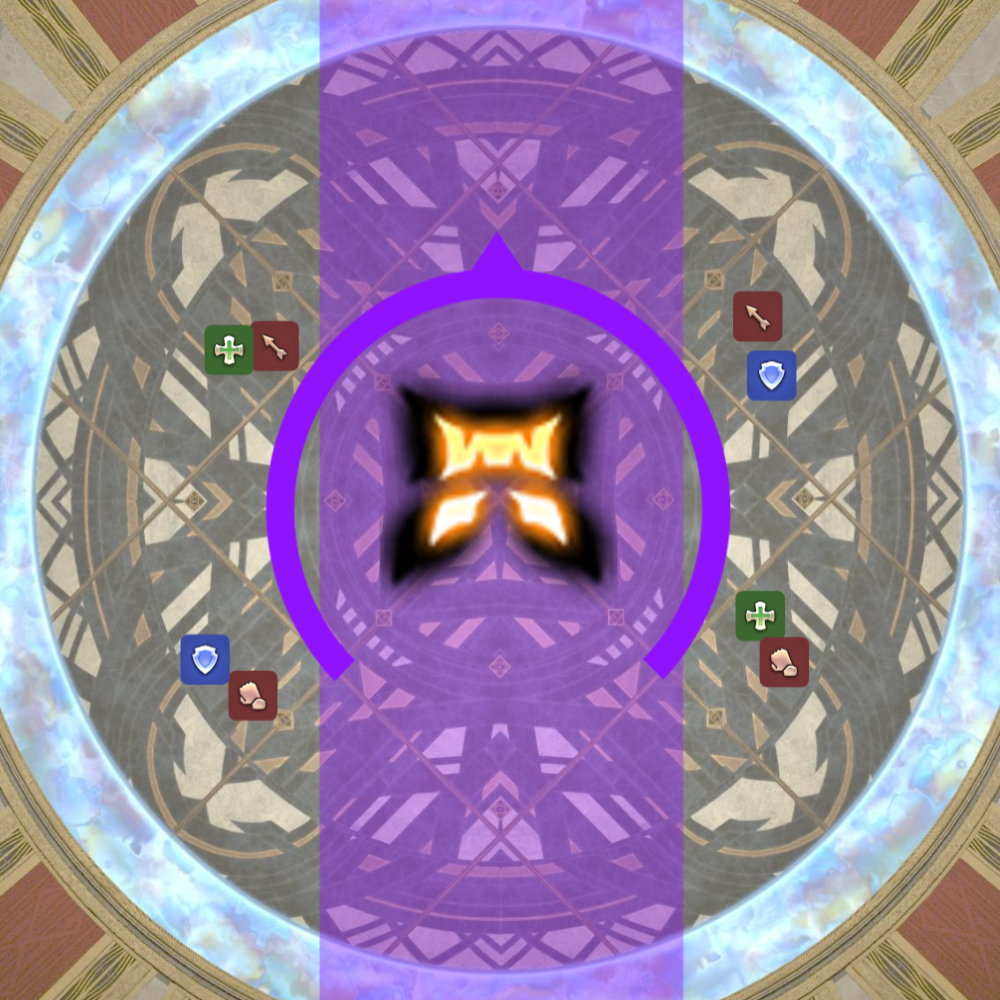
Upheld Overruling
Light

Dark

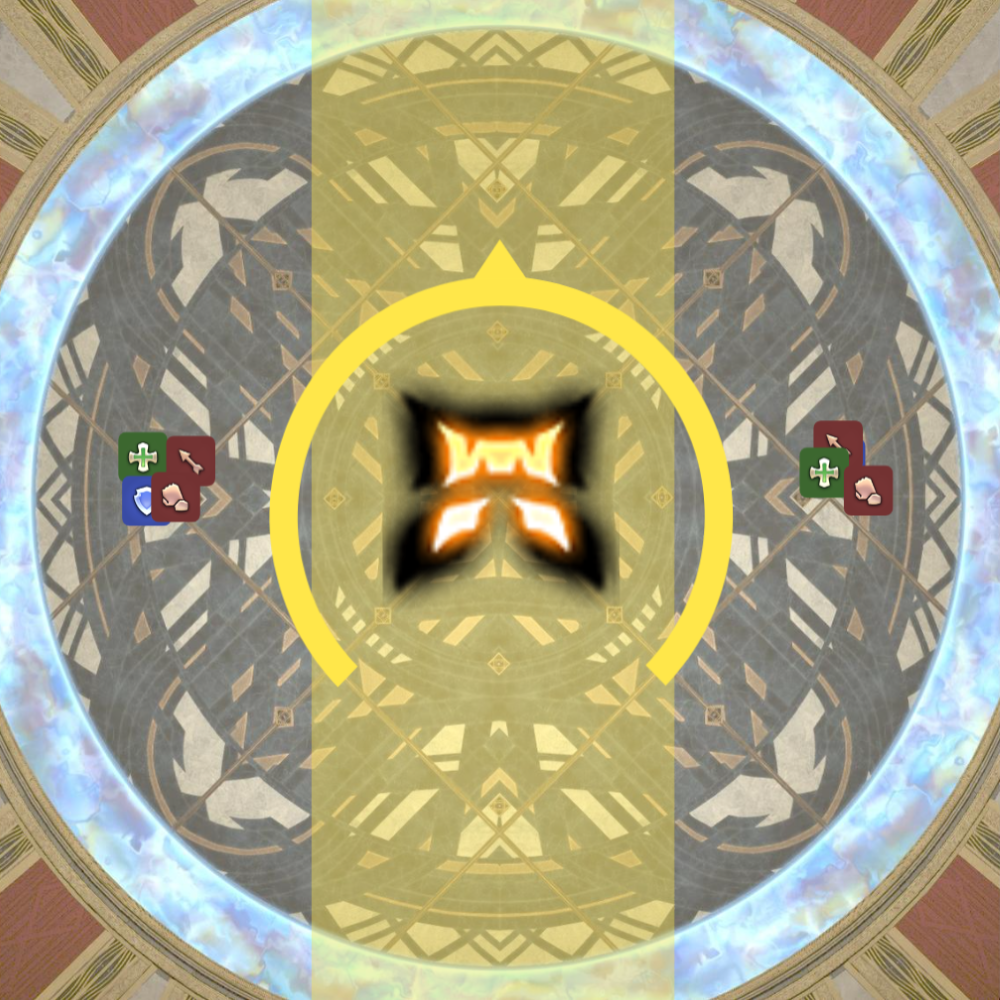
Upheld will start with a tether on a random(ish) player that will indicate who the mechanic is originating from. Regardless of what version it is, the tethered player should move to the center of the boss’s hitbox.
Light: A random player is tethered for a full-party stack. Immediately afterwards, a large point-blank AoE and light parties will happen, so resolve in your light parties at max melee East/West.
Dark: A random tank is targeted for a large AoE tankbuster (use cooldowns!). All others stand max melee in your partner stacks. Once the tankbuster has gone off, move inside to dodge a donut AoE and resolve partner stacks. (The tethered tank will just move to their partner stack position from center.)
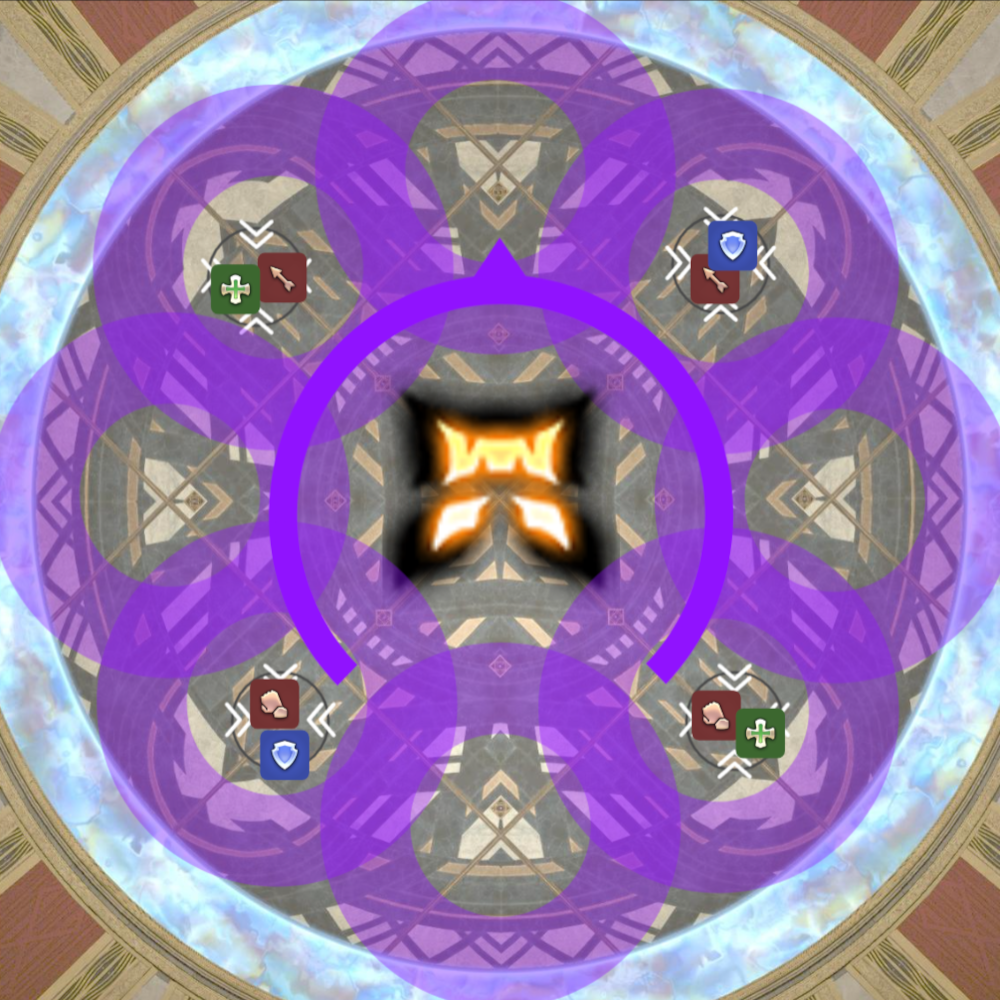
Divisive Overruling
Light
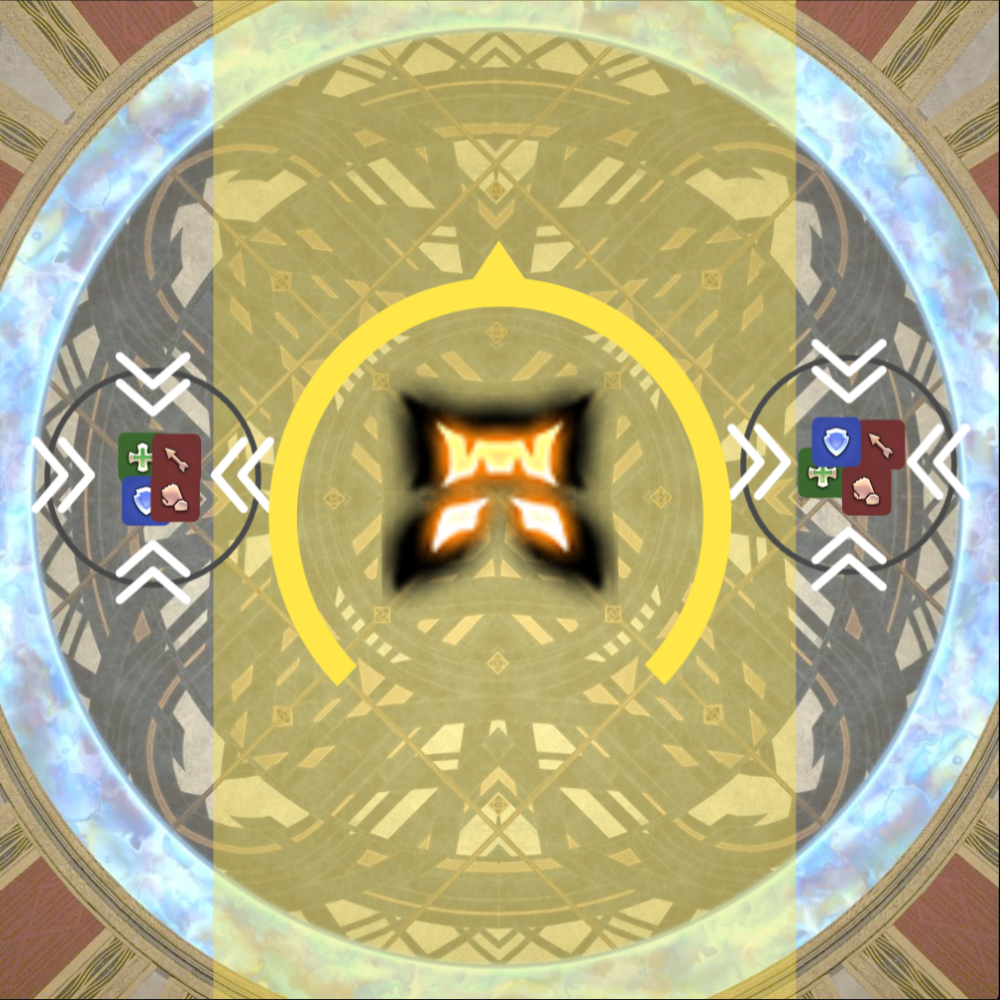
Dark
Divisive will start with Themis casting a line AoE slightly smaller than the size of his hitbox directly in front and back of him, followed by the usual secondary Light or Dark mechanics.
Light: The line AoE will go off again, but much larger, at the same time as light parties. Once again resolve in light parties at max melee East/West.
Dark: The line AoE will explode on the inverse of where it did initially (so the previous AoE size is the safe spot - tHeRe ArE lInEs On ThE fLoOr) at the same time as partner stacks. Once again resolve in partner stacks inside the safe spot.
Divisive is followed by Styx, a multi-hit full party stack that will repeat throughout the fight. Each time it occurs, one additional hit will be added. The first hit also hits for a little under 3x the damage as the following hits, so using a large shield/heal there then trickle after works well.
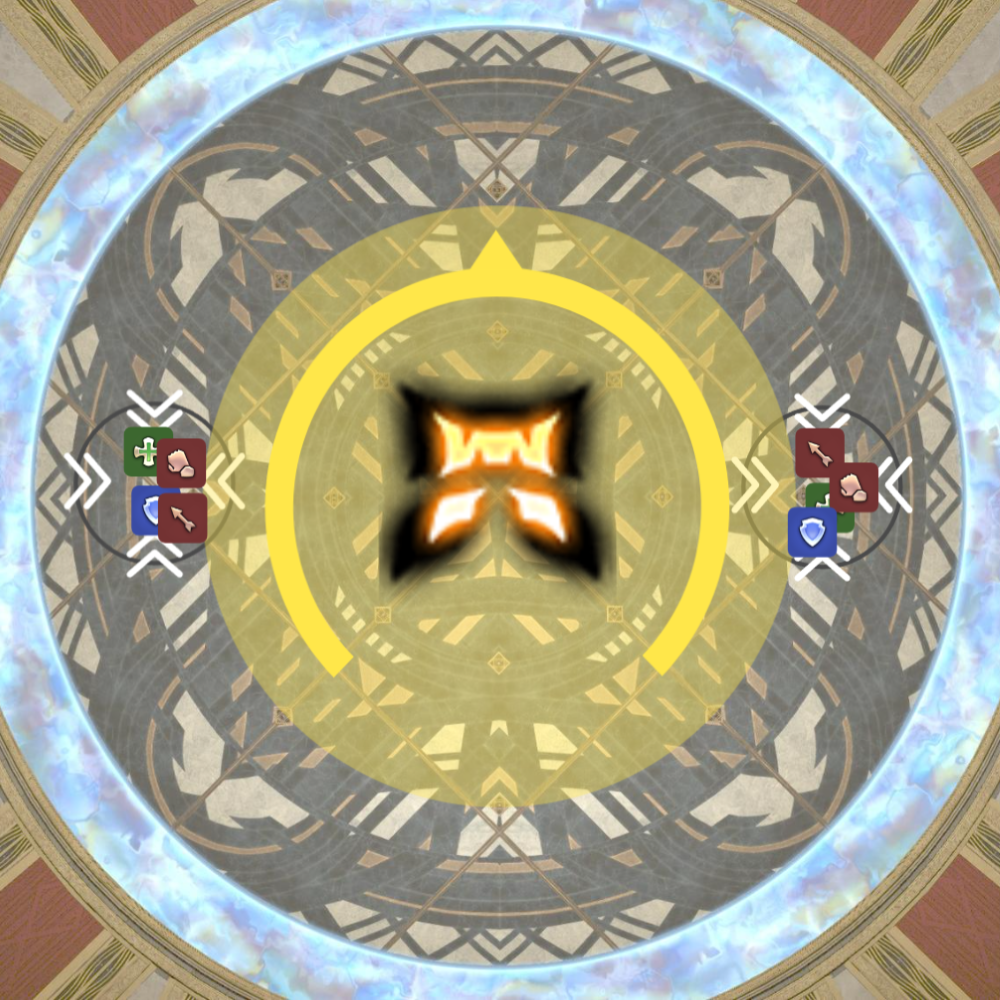
Arcane Revelation/Dismissal Overruling
This is technically two separate mechanics happening here, but they’re resolved somewhat together so everyone is pairing them. First, Themis will cast Arcane Revelation, which will spawn Light and Dark colored squares on 2 sides of the arena, perpendicular to each other. The energy that Themis glows with while this cast is happening will correspond to which of these squares will shoot lasers - so if he glows Dark, the dark squares will shoot line AoEs (simple!). These will also correspond to the diagonal grid pattern on the floor, so use that.
One row of squares will always be Dark-Light-Light-Dark, and the other will always be the opposite. This means that the safe spots will always be the center 2 squares of the grid directly in front of the opposite to the color that is detonating, and the mirror 2 squares on the opposite end of the arena from those (see image).
Before these actually go off, Dismissal Overruling will be cast. This will result in a knockback from the boss that can be prevented, followed by the typical Light/Dark out/in stacks. The timing is such that the knockback will go off, then the Arcane Revelation line AoEs will fire, then the Light/Dark mechanic will resolve. This means you can ride the knockback to the safe spot if needed, but it’s better to just KB immune it.